In this article, we will discuss the top methods to remove gel nails naturally. These days, the gel nails are increasing popularity because they help the polish to stay on for a longer period of time. The major difference between your regular nail polish and gel nails is regular nail polish looks great for only a few hours but it will eventually begin to chip. Regular nail polish can easily spoil your entire look. Gel nails are clear winner over regular nail polish but it is not easy to remove the gel polish completely. Many of us believe that using acetone is the only best way to deal with this issue, but it is not always true. Read this article to learn some top methods to remove gel nails.
Methods to Remove Gel Nails:
1.) Soaking to Remove Gel Nails
- Fill a Bowl with Acetone
Acetone is a highly popular method to remove gel nails fast and naturally. It is a chemical that basically reacts with the gel nail to loosen its adhesive significantly and free it from your natural nail. Acetone is one of the most common ingredients in nail polish remover. However, in order to remove gels, you will need a concentrated amount of pure acetone. To use acetone as a gel nails remover you need to cover the bowl of acetone with aluminum foil or plastic wrap. Use a normal rubber band to hold the cover in the place.
Take warm water in another bowl but this bowl should be greater than that contain acetone. Now, place the acetone in the larger bowl of warm water to warm it up. Here you will need to take proper precautions that do not heat acetone in a microwave or stove directly. After placing acetone bowl in warm water let it sit for three minutes. Avoid overheating of acetone by removing just after it gets warm enough. You should very careful with this process as acetone is flammable.
Keep the acetone away from direct heat sources even from low heat sources. While performing this step you need to protect the skin around your nails by applying petroleum jelly. Acetone can easily dry out and damage the skin, so it is important to protect it with a fine layer of jelly. If you do not have plain jelly then uses a lotion or balm.
Dip a cotton ball or swab in the petroleum jelly and simply use it to apply the jelly around the edges of the nails. Now, cover the skin on the fingers down just below the top knuckles. Make sure you don’t get too much jelly on the nails since the acetone will need to dissolve the gel.
- Wrap Your Nails in Acetone
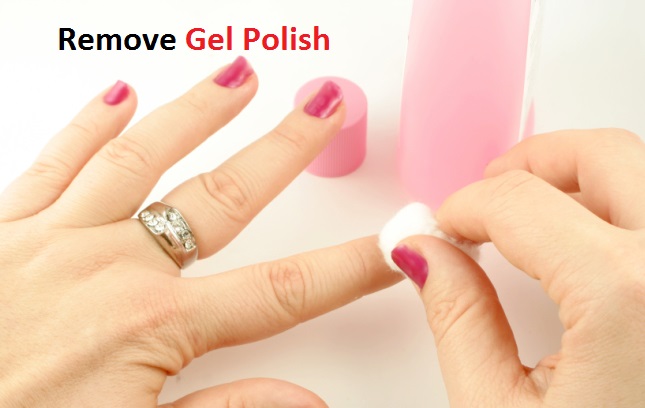
Dip a cotton ball or swab in the acetone to completely saturate it, and then try to hold it against the nail and simply wrap it in a strip of foil to fix it in the place. Repeat the same process with your remaining nails. Let the nails soak in the acetone for half an hour. If acetone doesn’t irritate the skin then you can dip the nails straight into the bowl instead of using the cotton balls and foil. You need to make sure not to soak the nails like this for more than half an hour.
- Remove the Foil and Cotton Balls
Now, simply remove the aluminum foil and cotton ball from one nail first. The gel will come right off when you just swipe it with the cotton ball. If you successfully removed the gel from one nail, repeat the process with the remaining nails.
- Help the Gel Come off by Peeling it back
Even after the above step the gel on the test nail is still firmly in place then you need to replace the acetone-soaked cotton swab. Again wrap it up in aluminum foil and let the nails sit for another ten minutes before trying once again. You will need to continue the process until the adhesive is softened and your nails can be removed. If this technique doesn’t work even after one hour of try then the adhesive is probably resistant to acetone. Now, do not lose hope as there is another method that should be employed.
- Condition Your Nails
Now, the removal method with acetone has flopped. So, rinse off the acetone and then shape the natural nails with a nail file. Make sure to buff them with a nail buffer to remove any rough edges. Moisturize the nails and hands with any lotion or cosmetic oil. You should file only in one direction so that you don’t damage the natural nails. It is suggested to avoid using a sawing motion. The acetone may have dried out the nails so treat them gently for three or four days. Once you get rid of gel nails, wait at least eight to ten days before applying another set of gels.
2.) Filling Off to Remove Gel Nails
- Trim Your Nails
Use a high-quality nail clipper to clip off the parts of your nail that extends past the finger. You have to trim them as short as possible to remove gel nails easily. If you find they are too thick to cut then use a course file to file them down.
- File Down the Surface of the Nails
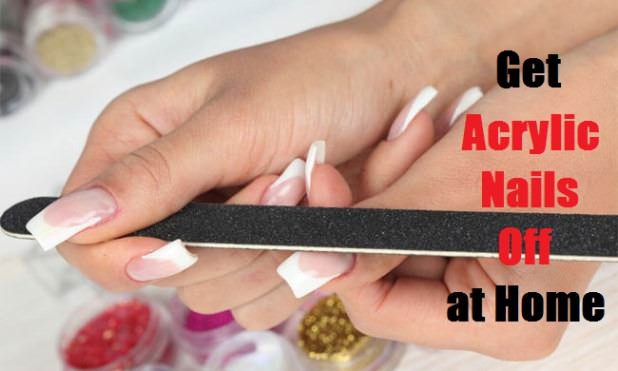
Use a good quality coarse-grit file between 160 and 180 grit. You will need to file gently and in crosshatches to keep work even and move the file to different areas of nails so that you don’t feel an irritation or burning sensation in one place. The filing process may require your patience as it might take a long time. Avoid the urge of working quickly or unevenly as it can damage your natural nail underneath. Keep a brush to wipe the dust away frequently. This basically allows you to clearly see how much gel is still left to take out before you hit a natural nail.
You should stop filling once you get down to your natural nail since you could damage it. Signs that will tell you are close to the natural nail include the following:
- You will start seeing the natural ridges in your nails.
- There will be a big reduction in the dust that is produced from filing the gel.
- File the remaining gel with a finer-grit file.
After getting rid of filing process you need to work slowly and gently so that you don’t file the surface of the natural nail. Although it is not easy to avoid the damage while filing your regular gel nails but working gently will minimize it. You need to continue the process until the gels have been completely filed away completely.
- Condition Your Nails
Use a buffer to make the surfaces of your nails smooth, which may have become quite scratched from the filing process. Properly moisturize the nails and hands with any lotion or oil, and make sure you keep them away from any chemical and other harsh substances for one week. Wait for ten days before applying another set of gels.
3.) Peeling Off to Remove Gel Nails
To properly peel off the nails you need to wait until your nails are mostly chipped away. In general, gels tend to chip off after one week or two. It will be a wise choice to wait until they are mostly gone to start peeling them yourself. In this way, you will reduce the damage to the surface of the nail.
- Insert a Cuticle Stick
You need to insert cuticle stick in the gel until the gel is slightly raised around the edge of the nail. Make sure you should not dig too hard under the gel or you may easily damage the natural nail.
- Peel off the Gel
Now, the gel is ready to be peeled off, just use your fingers or any pair of tweezers to grasp the edge and peel it back. Repeat the process with each finger until the gel has been completely removed. Make sure you don’t rip off the gels. A fine layer of the natural nail will come up with them. If the gels are too tough to peel, consider using another removal method but do not force.
- Condition Your Nails
Use a good quality file to smooth out the nail edges, and a nail buffer to properly smooth out the rough spots on the surface of the nails. Now, rub the lotion or oil on the nails and hands. Wait a week before you apply another set of gels.
